

Set Up Your Salesforce DX Environment
Salesforce
5 MIN READ
July 26, 2021
![]()
Salesforce Developer Experience (DX) is a new tooling set released by Salesforce for developers to manage and optimize apps throughout the development cycle. From scratch org to new APIs, from refreshed command-line interfaces to Environment Hub, the Salesforce DX environment has many capabilities that make the release cycle process more agile and dynamic. In this guide, we will walk you through the complete process of how to set up the Salesforce DX experience on a laptop or PC. But before explaining the steps, let’s help you understand why the CRM solutions offered by Salesforce are important to your business and what are its key elements.
- Why is it important to set up the Salesforce DX experience?
- What are the Key Elements of the Salesforce DX toolset?
- How to set up your Salesforce DX environment perfectly?
Why is it Important to Set Up the Salesforce DX Experience?
To enhance the experience for developers, Salesforce is constantly developing and improving its toolset. Whether you’re an individual developer or belong to a larger team, Salesforce DX lets you build apps with the full dimension of convenience. Salesforce DX, an integrated end-to-end lifecycle, is a good investment deal because it can improve team efficiency and collaboration capabilities, resulting in increased production. It is the best and friendliest tool to keep the entire development process agile.
With Salesforce DX experience, Salesforce gives developers the advantage of an open-source lightweight platform naming the VS Code editor with easy-to-install extensions. Along with these benefits, some more benefits are mentioned below.
Major Benefits of Adopting Salesforce DX Experience
- Drive continuous integration and delivery
- Add-on features: Unlocked packages to offer a replicable and trackable method for introducing and managing organizational changes.
- Amazing Developers Experience
- Powerful command-line interface and open APIs
- Scratch orgs for rapid testing and development
- Managed packages to organize metadata and streamline app distribution
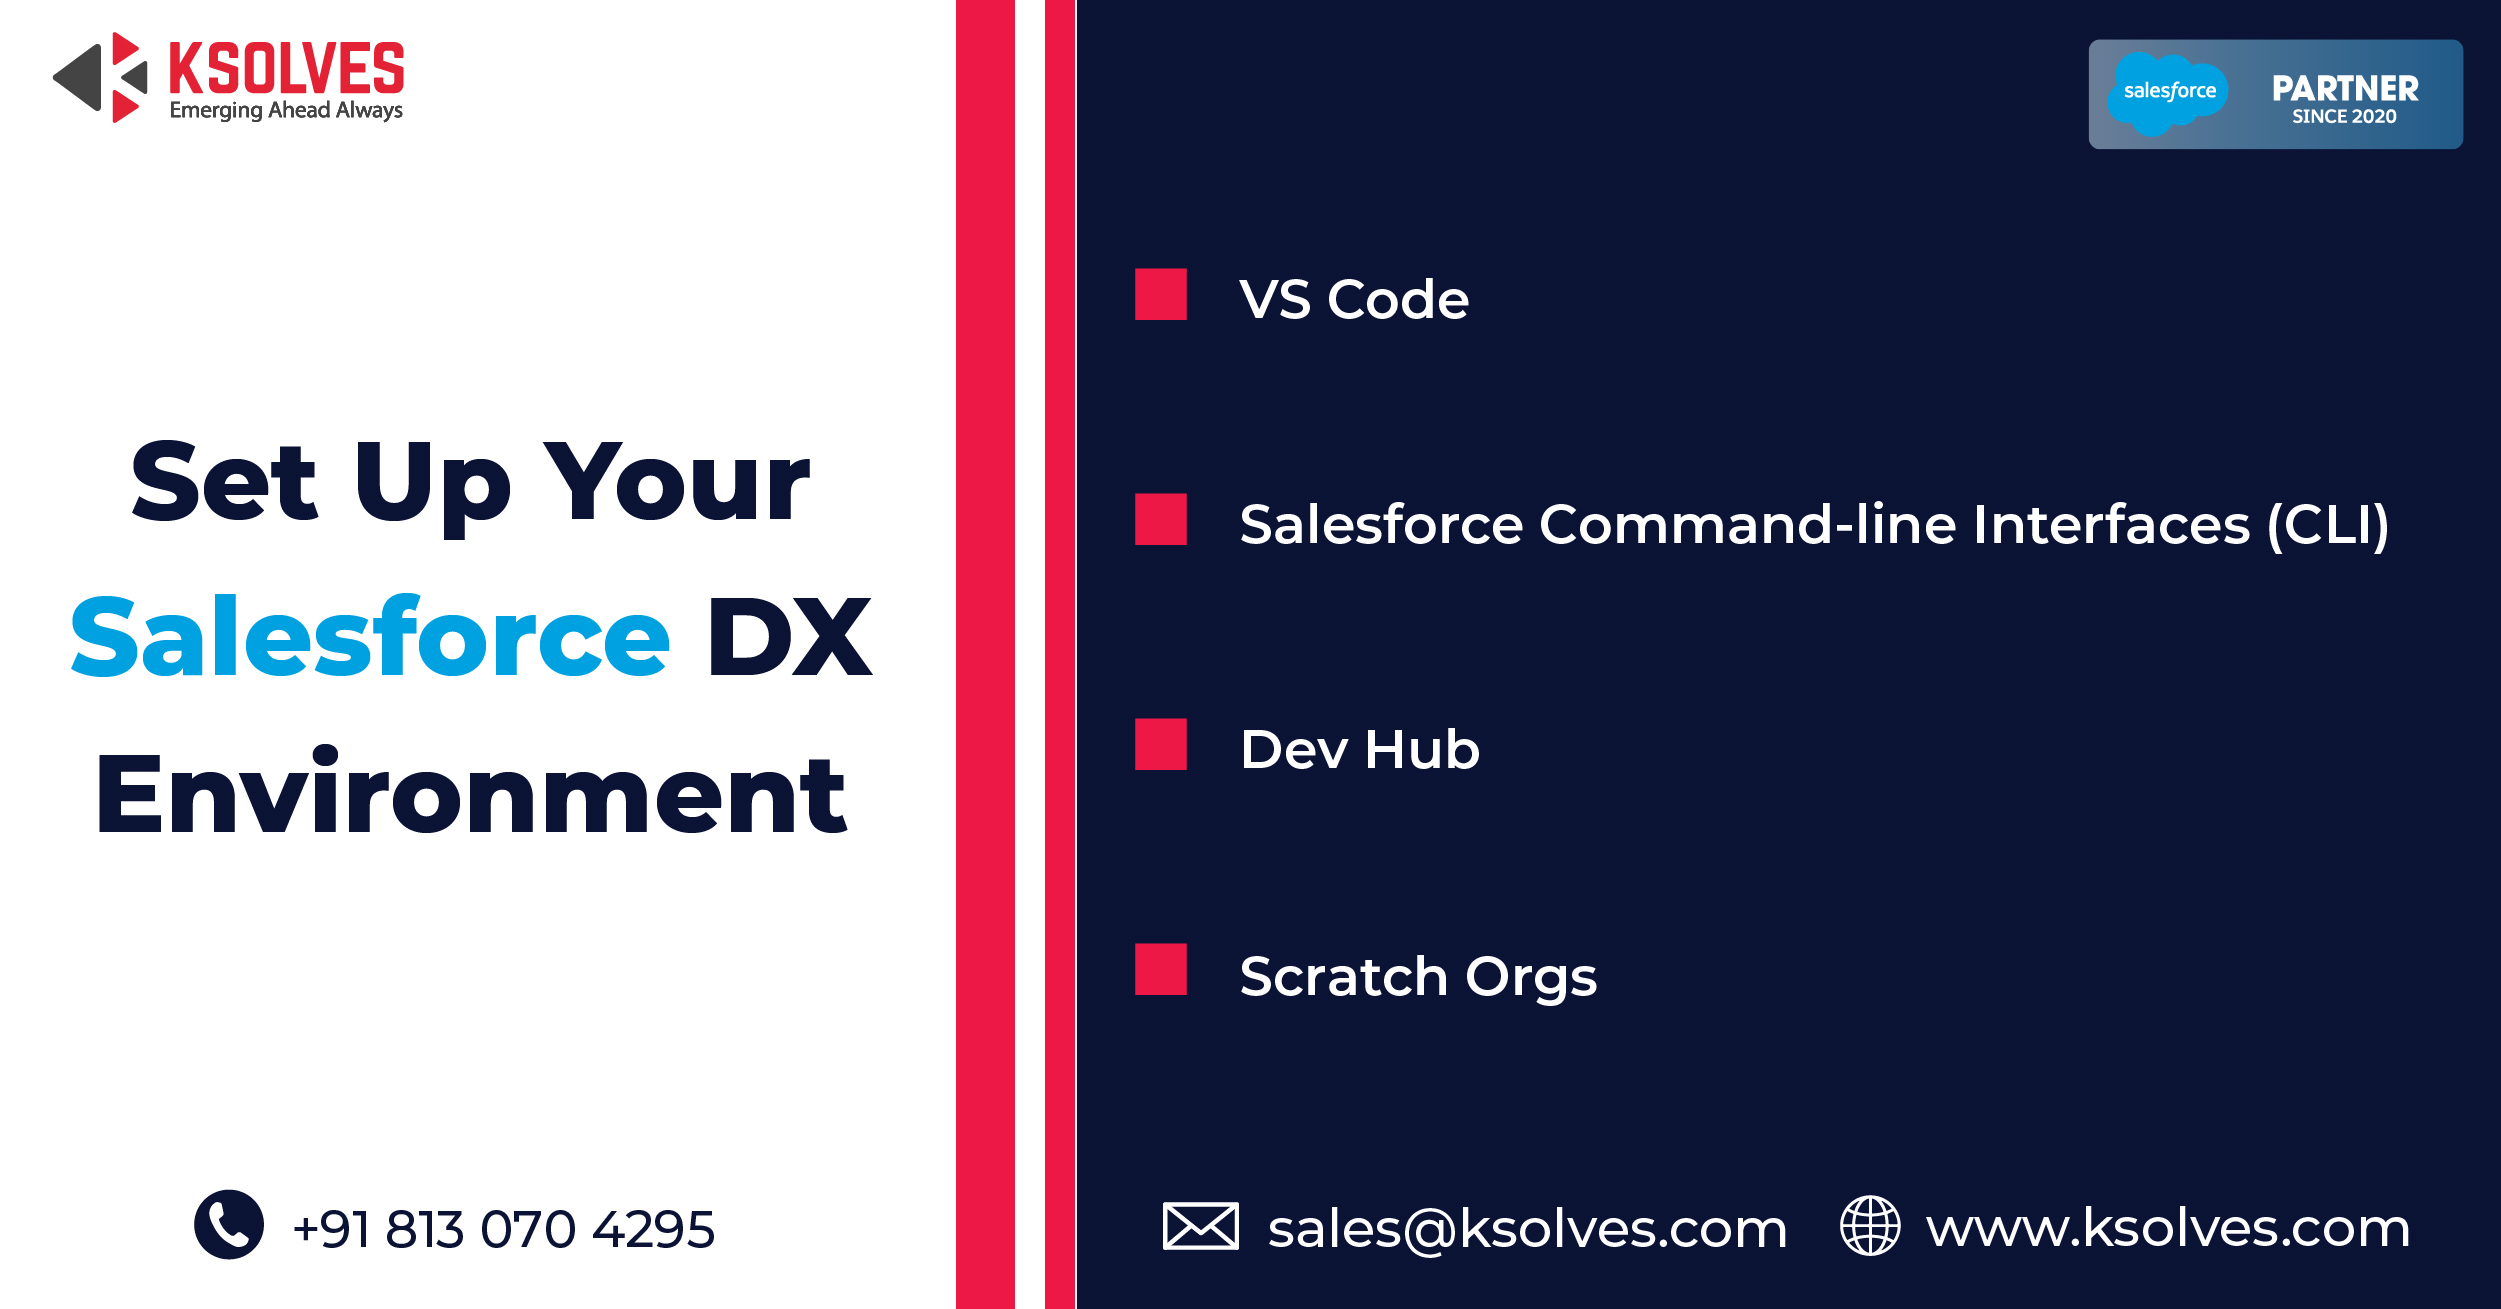
What are the Key Elements of the Salesforce DX toolset?
- VS Code
Visual Studio Code is an open-source and powerful editor for Salesforce developers. It is highly customizable and is available for Windows, Linux, and macOS. This editor has easy-to-install extensions for syntax highlighting, code completion, Apex Live debugging, and more.
- Salesforce Command-line Interfaces (CLI)
The CLI (Command-line Interfaces) is used to control the entire development cycle of Salesforce apps, enabling you to run multiple tasks on your Salesforce environment. This simplifies the development process and creates automation when functioning with Salesforce.
- Dev Hub
Dev Hub is of great help in building or managing temporary environments, commonly known as Scratch orgs. In your production org, you can easily create scratch orgs by enabling Dev Hub functionality. Under Setup > Dev Hub, you will see two toggles. The first will enable Dev Hub functionality and the second will enable developer-controlled packaging. (Note: Once Dev Hub has started functioning, you cannot undo your action.)
- Scratch Orgs
Scratch orgs are temporary Salesforce environments, enhancing developer capabilities and productivity during the development process. This helps to quickly test changes and ensure continuous integration at the same time.
How to set up your Salesforce DX environment perfectly?
1. Setup Salesforce DX Environment
Step 1: Firstly, install the CLI (Command Line Interface) on your laptop or PC with the help of the links given below.
macOS: https://sfdc.co/sfdx_cli_osx
Windows 32-bit: https://sfdc.co/sfdx_cli_win
Windows 64-bit: https://sfdc.co/sfdx_cli_win64
Debian/Ubuntu 64: https://sfdc.co/sfdx_cli_linux
Step 2: Once the archive file is downloaded from the above link, extract it and run the ./install script.
{Note: The Salesforce CLI supports operating systems such as Windows 8.1 and Windows Server 2012 (64-bit and 32-bit) or later, macOS 10.11 or later, and Ubuntu 14.0.4, but the steps below are for Windows users.}
Step 3: To begin the Windows installation, a Salesforce CLI Setup dialog box will appear that gives you the option to select Salesforce CLI Features. Select all the components mentioned there and then click Next to continue.
Step 4: Then choose the install location as per your convenience and click on the Install button to finish the Windows installation.
Step 5: To verify the Salesforce CLI installation from CMD, run the command: “sfdx -version” for version, and “sfdx” for installation confirmation.
Step 6: To learn more about the different types of commands, one can input the command “sfdx force – help”.
Step 7: Confirm sfdx plugins installation, using “sfdx plugins” command.
Step 8: In case, no plugin is installed, run ”sfdx plugins:install salesforcedx@pre-release” command
Step 9: Re-verify the sfdx plugins installation using the same command mentioned earlier i.e. “sfdx plugins”
By following all 9 steps, we can ensure SFDX installation in the Windows environment successfully. Now, let’s move on to the installation of VS Code.
2. Setup VS Code Environment
These steps are for those who do not have VS Code installed in their system. If you already have VS Code installed then there is no need to follow these.
Step 1: First of all, download the VS Code setup from the below-mentioned link: https://code.visualstudio.com
Step 2: Complete the installation process by signing the Licence agreement and saving the file at the desired location on your system.
Step 3: Click the “Finish” button to launch VS Code
By following these simple steps, you can successfully install VS Code in your system.
3. Setup Salesforce DX Experience with VS Code
Step 1: Install the “Salesforce Extension Pack” first.
Step 2: Then to access Lightning Web Components in VS Code, you’ll need to download it first.
In this way, you can set up Salesforce DX experience with VS Code
4. Create Salesforce DX Project Via Command Palette
- Open the Command Palette in Visual Studio Code, by pressing Ctrl+Shift+P on Windows
- Then, type SFDX
- Select SFDX: Create Project
- Name your project
- Press Enter key
- Select a folder to save your project
5. Authorize Your Non-DevHub Org via the Command Palette
- Press Ctrl+Shift+P to open the Command Palette in Visual Studio Code for Windows users.
- Type SFDX
- Choose “SFDX:Authorize an Org” option
- Select the login option as per your preference. (Note: To enter in the developer org, log in via login.salesforce.com, and to access the sandbox, log in via test.salesforce.com. You can also use a custom domain URL for login.)
- After you enter your credentials in the browser, the CLI will remember them and a success message will appear on your screen.
6. Create a Lightning Web Component via Command Palette
- Repeat the first two steps of Authorize Your Non-DevHub Org via the Command Palette
- Then choose SFDX: Create Lightning Web Component” option
- Accept the default force-app/main/default/lwc by pressing Enter
- Name the new component and press Enter (Once done, the newly created files can be viewed in Visual Studio Code)
7. Deploying the Component to Org
- In Visual Studio Code, go to the default option of the selected project and click on it.
- On clicking, SFDX:Deploy Source to org. option will appear. Select it and you will receive the following message. (Image Reference link: https://blogs.perficient.com/2020/12/09/set-up-your-salesforce-dx-environment/)
This completes your Deployment process!
Through publishing this informative material, our ultimate goal is to provide a helpful and easy way to configure Salesforce DX on your Windows with VS Code. While the above steps for setting up a Salesforce DX environment seem easy, these can be difficult to implement especially for new developers. Therefore, it would be beneficial to seek professional help in successfully setting up a Salesforce DX experience. That’s when we, Ksolves, the best Salesforce development company, come into the picture. Ksolves helps you to get A to Z information related to Salesforce tools.
We are globally known for providing Salesforce Development Services.
Consult Ksolves to learn more about the new tooling set, Salesforce Developer Experience (DX)!
Email : sales@ksolves.com
Call : +91 8130704295
Read Related Articles –


Android is an open-source platform, no doubt it has many advantages over iOS development. There are many security limitations as well. Thanks for the wonderful article.