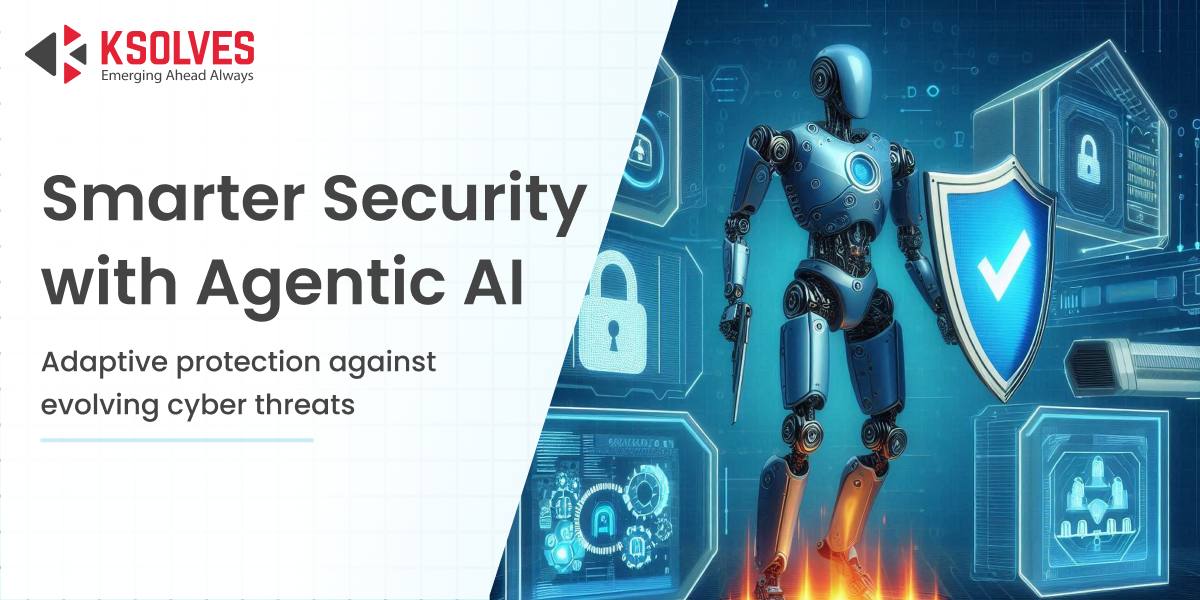
The intersection of artificial intelligence and cybersecurity is rapidly evolving. As organizations face increasing cyber threats, AI-driven security solutions are […]
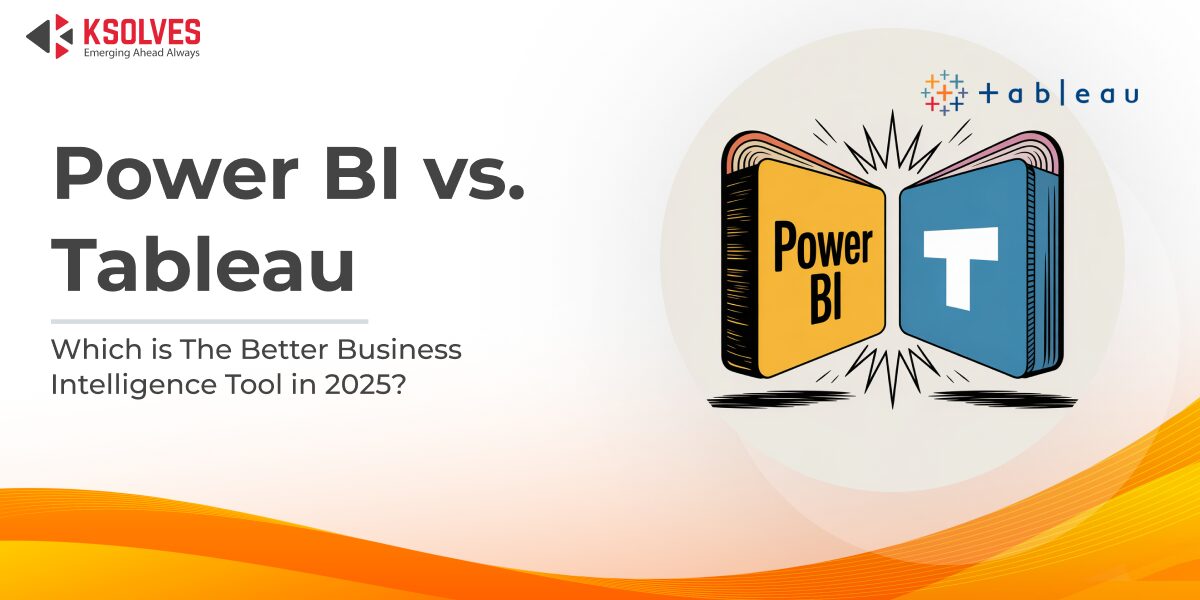
In businesses, when it comes to making the right decisions, it often comes down to how quickly and clearly you […]
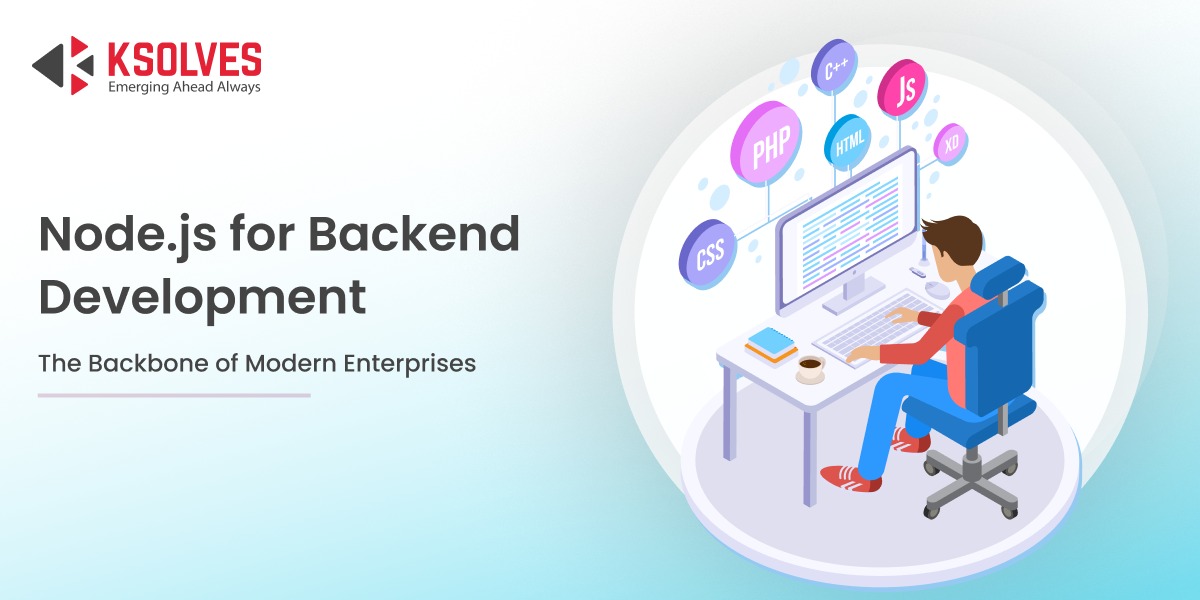
In today’s fast-paced digital world, enterprises are under constant pressure to deliver backend systems that are fast, reliable, and capable […]
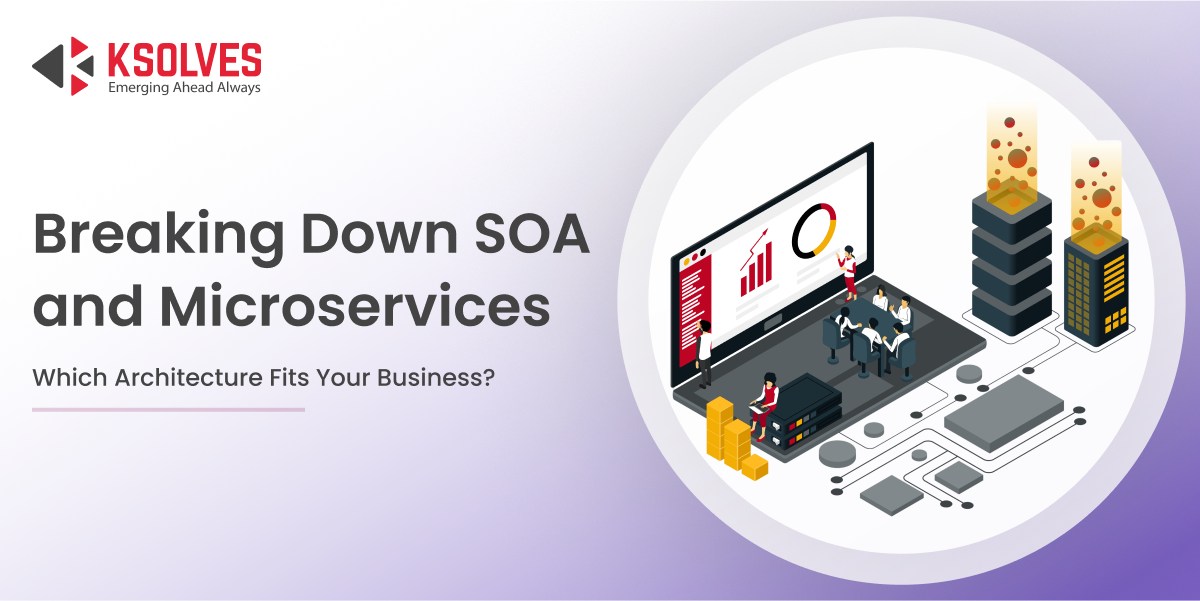
Imagine your engineering team debating architecture: Should we go microservices or stick with Service-Oriented Architecture (SOA)? One promises speed and […]
The legal world is no longer defined by stacks of case files and endless paper trails — it’s driven by […]
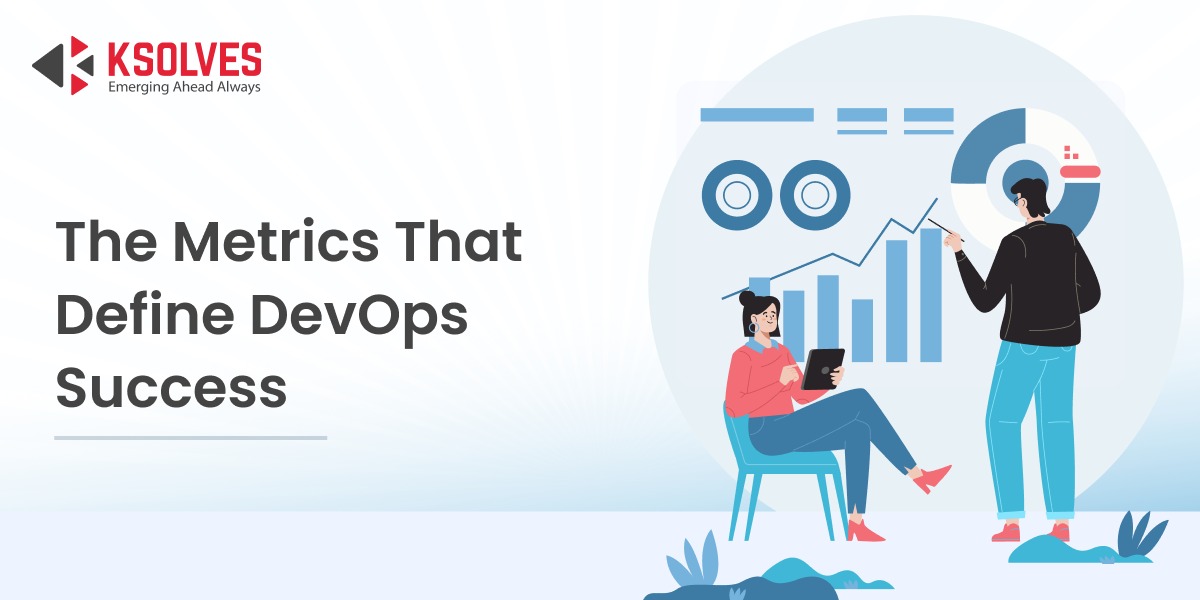
You’ve invested in DevOps to ship faster, reduce downtime, and boost collaboration. But now what? Without clear metrics, it’s tough […]
Imagine visiting a website where every click, scroll, or interaction feels instant, like the page anticipates what you need before […]
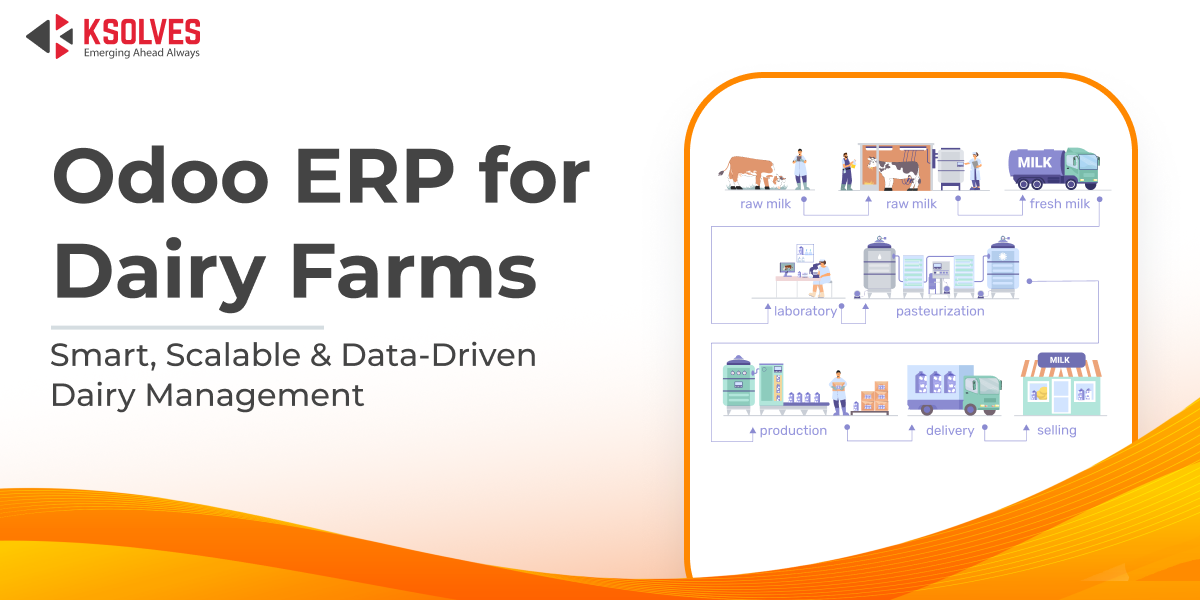
Dairy farming is a complex operation that goes far beyond feeding cows and collecting milk. Today’s dairy farm managers must […]
In today’s fast-paced consulting world, firms juggle multiple client projects, tight deadlines, and evolving business demands. Delivering high-quality services is […]
Name
Work Email*
What is 1 + 8 ?
Full Name*
Company Email Address*
Message*
What is 5 + 8 ?
Wish to ask us something? We're available across channels. Ping us anytime.
Email Address*
Contact Number*